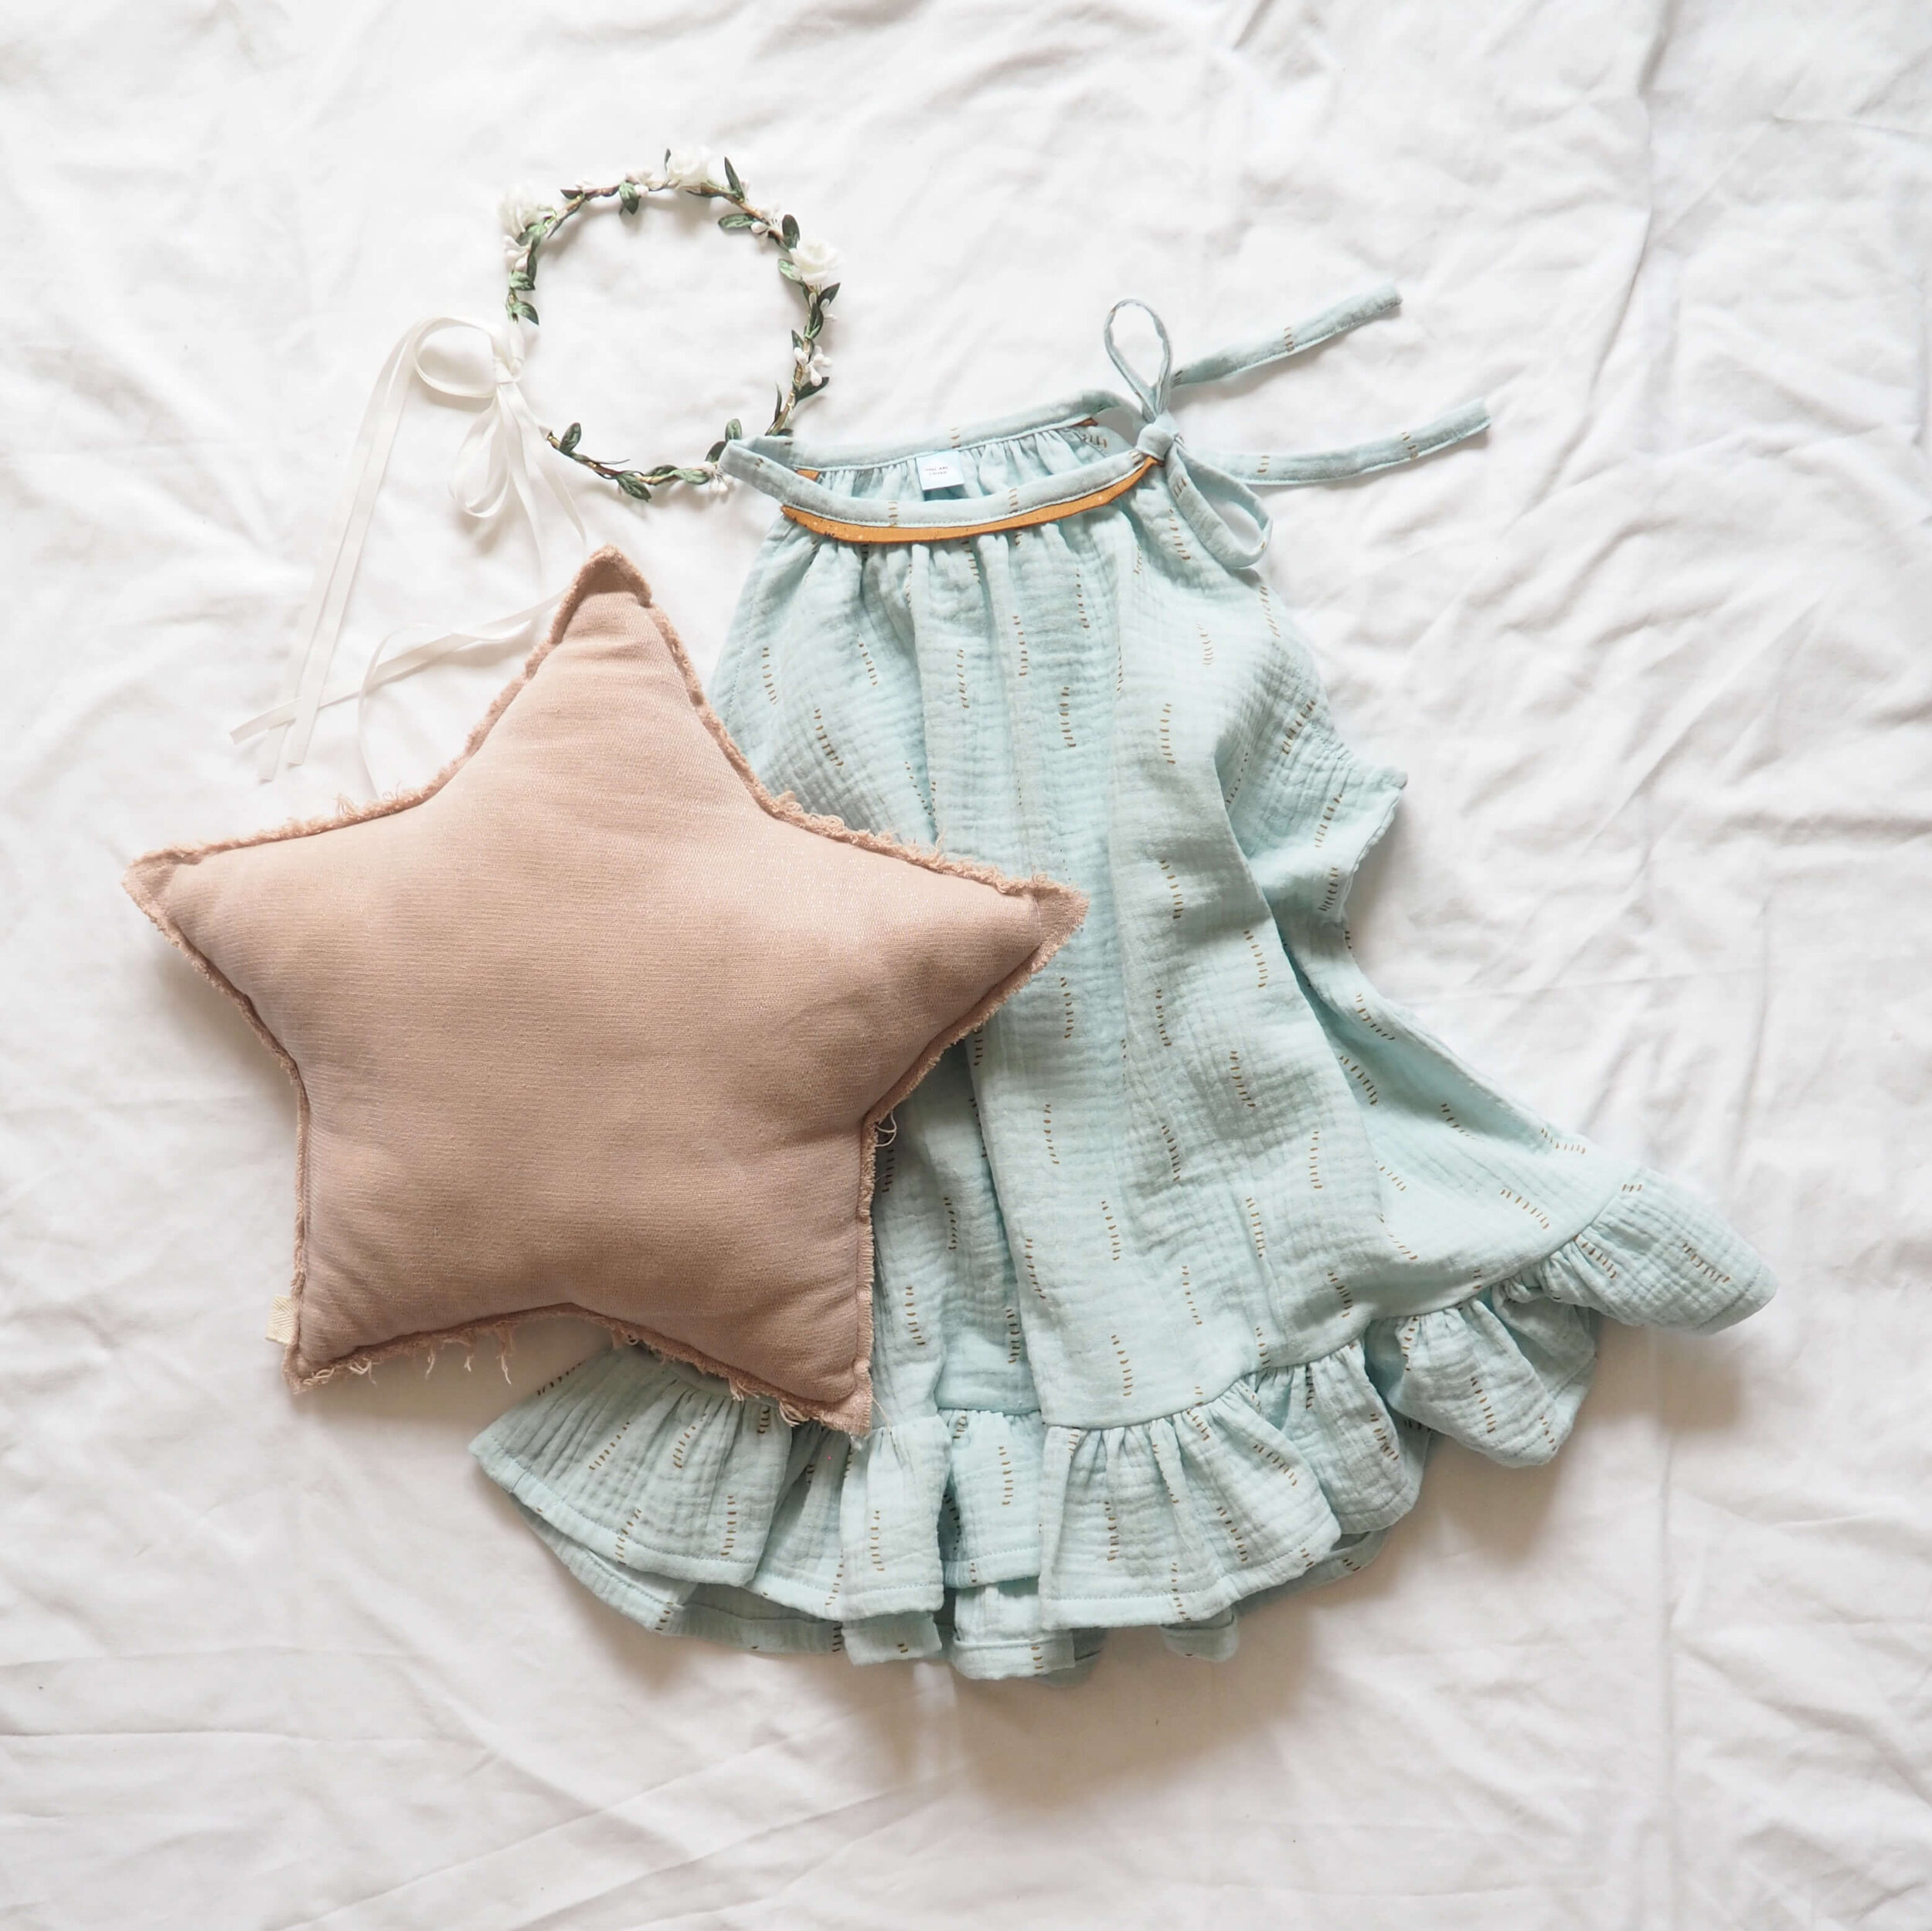
Céleste Hack: beach dress and night camisole
If you are lucky enough to have hot days in this very wet year, you might start to think about a summer wardrobe for your child. I designed Céleste to be an all-year kind if pattern, but I also thought that it would be lovely to make a version for very hot days.
With its raglan build, taking sleeves off means having nothing to keep the front and back together. But thankfully, the neckband is all you need. So I’ve prepared this video tutorial to show you how you can make a beach-dress / nightdress for very hot days. You can use this hack to make the dress and the top. In fact, I made the dress but reduced the length by 5cm on the body so it would stop just above the knees.

Watch the video for a fully detailed tutorial:
For this hack, you won’t need to buy anything more than for the regular pattern. In fact, you will need less fabric. I made the dress in size 5 years in just under 1m.
I used an extra soft double gauze from myfabrics.com. It’s truly the softest gauze I’ve ever bought.
Here are the pieces that you will need:
Front piece on the fold (fold the tab for the buttonholes as we won’t need those)/
Back piece on the fold
Neckband with 40cm extra length for closure
Ruffle piece x2 if you are adding them
I also added some trimming and used some scraps. I cut a 40cm x 4cm rectangle which I just folded in half lengthwise and pressed.

Steps:
Start by cutting your pieces according to the list above.
Sew the side seams. Here I made French seams as I like the clean finish, but you can also do a regular hem with a 1cm seam allowance and finish the raw edges with an overlocker or a zig-zag stitch.
Finish the armholes. If you prefer to use bias tape, you can do that instead. Because the armhole is not too curvy, I chose to to a narrow hem. To do so, fold in 5mm twice, press and pin in place. Sew the hem from the inside, flattening your fabric around the curve to make sure that you don’t make creases.
Make two rows of gathering stitches on the front and back necklines. Pull on the top threads to create your gathers.
Let’s prepare the neckband. This is the only tricky part of the tutorial. Because there’s no sleeves, we need to leave a gap on the shoulders that will replicate the space from the sleeves. For the 5 year size, I measured a 7cm gap for each shoulder, then 12cm for the back and 16cm for the front. That way I get to the measurements of the original neckband. For smaller sizes, the measurements will be slightly smaller, but not by much.
Take your neckband piece and fold it in half lengthwise. Press. Then press 1cm in on one side (that’s the seam allowance for the inside). Now we can mark the measurements. Starting from the left (the piece that attaches to the front), make a mark at 20cm (that’s for the bow). From there, make a mark at 16cm, then at 7cm, then at 12cm. You will be left with a piece about 27cm as it measures for the left shoulder and the bow.
If you are adding some trimming, gather your front and back pieces to the right measurements. Pin in place and leave a few cm on each sides. Fold the edges of trimming over the sides and fold 1cm in so the raw edge is inside. Baste.
Now pin your neckband in place, following your marks. Sew the front and back at 1cm.
Fold the pre-pressed edge to the inside and pin your neckband on all its length. Sew close to the edge of the band to close it. On the front and back pieces, stitch in the ditch for an invisible finish, or sew it by hand on the inside.
If you are making the top, hem the bottom as per instructions.
If you are making the dress, make the ruffles and sew in place as per instructions.
And you are done! You make is ready for a trip to the beach or just to chill at home.