Little Bear Cape Tutorial (free pattern)
I recently had the chance to work with one of my all-time favourite surface designer, Bonnie Christine. She is one of the main designers working for Art Gallery Fabrics which produces beautiful fabric collections. The quality of their fabric is wonderful and I love working with them.
Bonnie is just about to present her last collection called The Open Road, which is inspired by her love of traveling in her newly refurbished caravan. It's truly a work of art and I would also love to have a little ride in it!

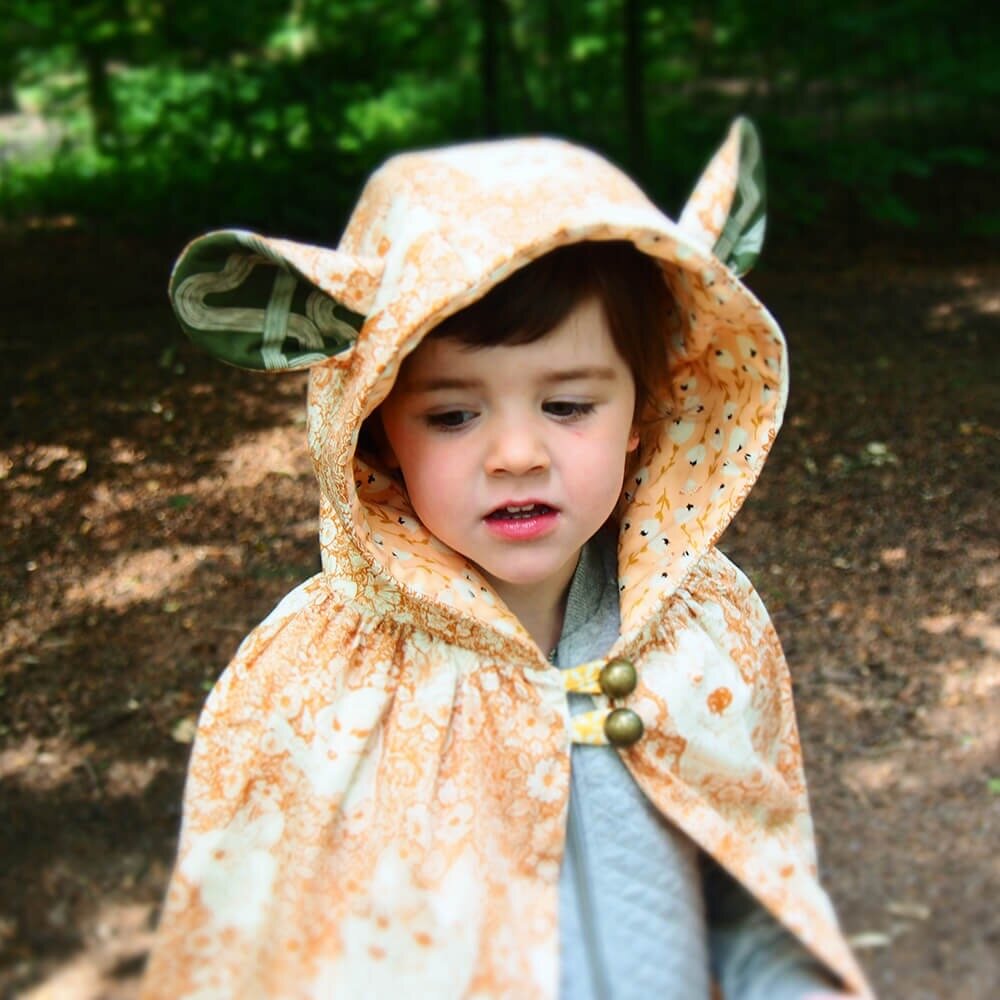
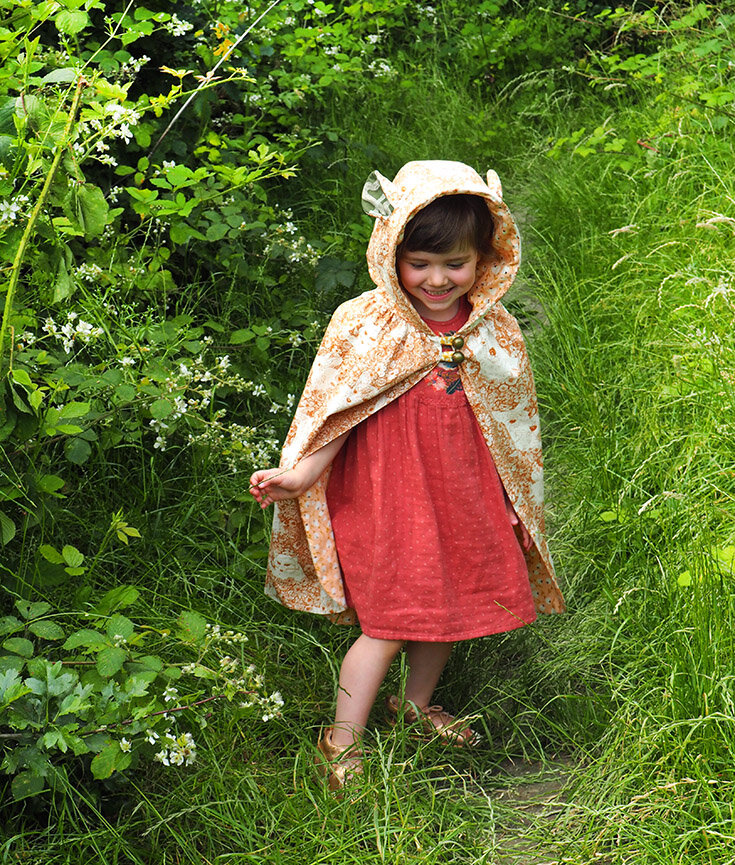
Anyway, she was on the lookout for designers to create some products with her fabrics and I was lucky enough to be picked to create a cape inspired by the woodlands. I fell in love with the details in Wandering With Doe and picked it as the main fabric for this project. I also thought that it was the closest one to a fur, with its rich copper colour. I picked Discovered Warmth as a lining as it works so nicely together.

I wanted this cape to have the hood as a main feature and loved the idea of adding ears. A tiny bit of contrasting fabric using Winding Course was all I needed to make them stand out.
For this project, I created a hood that could fit children's heads up to 10 years or so, and the height is adjustable as it's a simple rectangle. You will need 1.5m of each outer and lining fabric (if you use the same length I did), 0.5m of wadding or fleece and a few scraps for the inside of the ears and the button loops.
I used metal buttons which I had kept from an old garment.
I am thrilled by the hood and I so want one for myself. But if you also want to make one for a child you cherish, go ahead and get the hood pattern pieces. They are free to purchase on the shop here. Happy sewing!

Stage 1: Getting your pieces ready
Print the hood pattern pieces, making sure your scale settings are set to 100%
You will need:
Hood Side: 2 opposite pieces in the outer fabric, 2 opposite pieces in the lining fabric, 2 opposite pieces in thin wadding.
Hood Band: 1 piece in the outer fabric, 1 piece in the lining fabric, 1 piece in thin wadding
Ears: 2 opposite pieces in the outer fabric, 2 opposite pieces in the lining fabric, 2 opposite pieces in thin wadding.
Cape: cut a rectangle using the full width of the fabric, trimming the fabric selvedges.
Cut 1 rectangle in outer fabric and another one in the lining fabric. Adapt the height of fabric according to your child’s height. I chose to cut mine around 60cm tall for my 3-year-old.
Using a plate, make the bottom edges rounder. You can choose to omit this if you want your cape to be straight.
All pieces contain a 1cm seam allowance.


Stage 2: Making the hood
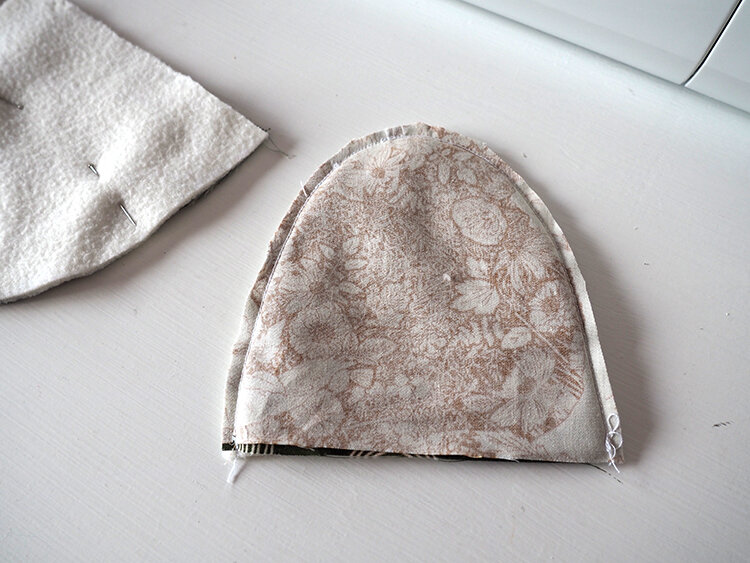
Let’s make the ears first. Take the opposite pieces of outer and lining fabric and one piece of wadding. Sandwich them in this order: outer fabric laying face up, lining fabric face down and wadding piece. Pin and stitch using a 1cm seam allowance, leaving the straight edge open.

Repeat for the second ear.
Clip the fabric close to the edge, turn outside in and press to get the curve flat.
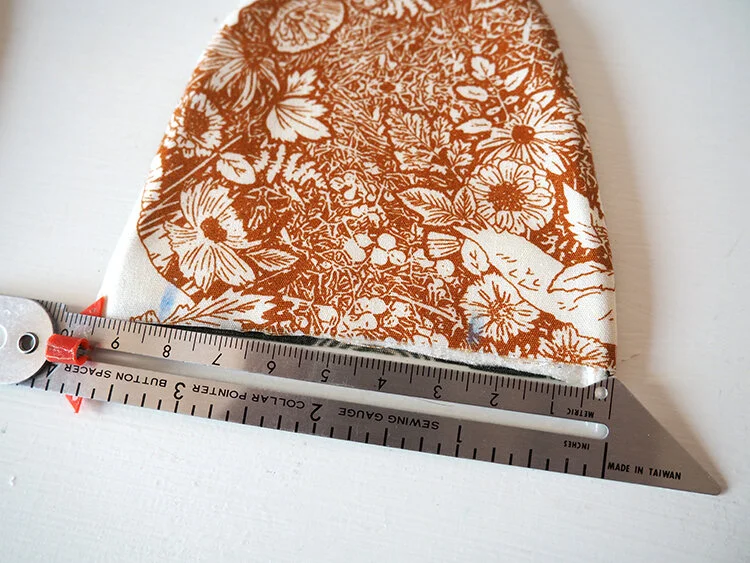
On the straight edge, make a mark on the left at 1.5cm and a mark on the right at 2.5cm from the edge of the outer fabric. Mark the opposite measurements on the other ear.

Fold each ear towards the lining along the noted mark and stitch close to the straight edge to secure the ear shape. Press. You should have 2 symmetrical ears.
Now let’s attach the ears.
Take your Side Hood Pieces. Mark the arrow shape on each piece and cut along the centre line.
Take both outer fabric pieces and the ears. Take the right side of the Side Hood as shown in the picture below and the right-side ear (the longer fold should be on the left).

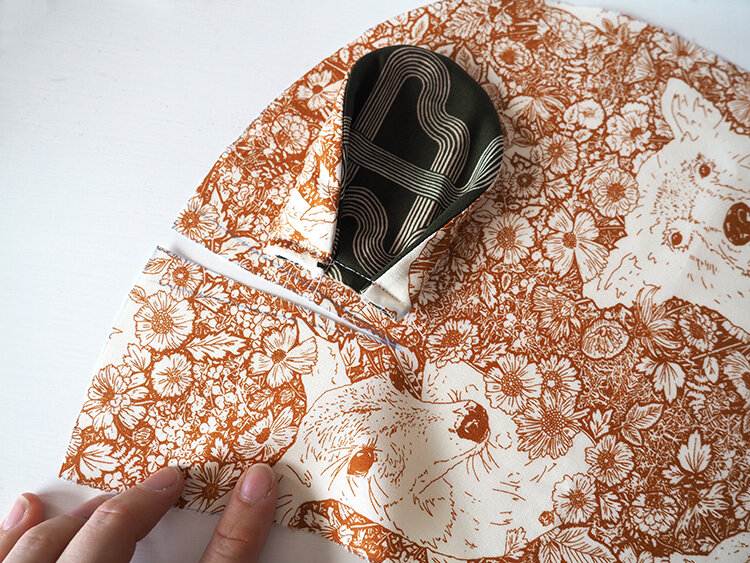
Place the straight edge of the ear along the cut edge of the Side Hood and fold the front over the ear as shown below. The ear should come out on the inside of the hood.
Stitch along the arrow line, starting at the edge of the hood and finishing at the point. Make a second line of stitches to secure.
Press the ear towards the back of the hood. Repeat with the other side.


Stitch the arrow in the same manner for the lining and wadding pieces, discarding the ear part.
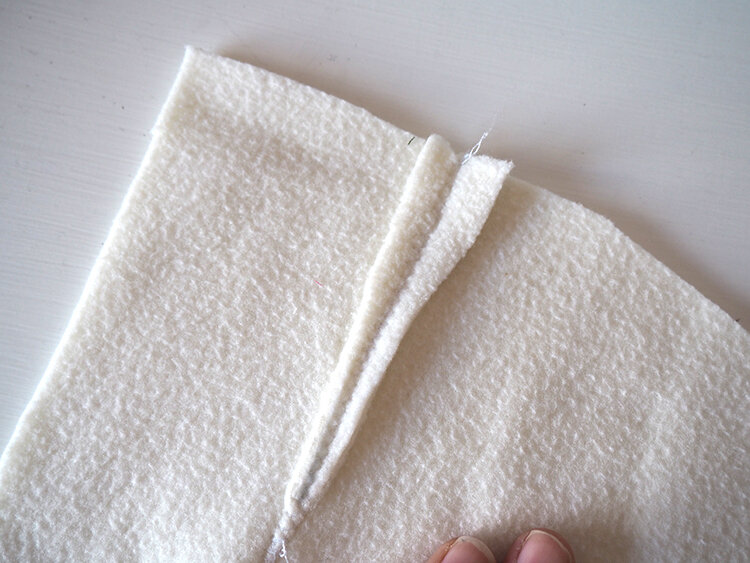
Take the outer pieces and the wadding and place one layer on top of the other, right side up. Stitch with a long stitch along the edge, using a small seam allowance. This will secure the wadding in place.


Let's put it together. Take a side of the Side Hood and pin the Hood Band along the curve, making sure that the wider end of the Hood Band is on the front. Stitch using a 1cm seam allowance.


Repeat with the other side of the hood. Trim seam allowances and press.
Attach the Hood Band to the Side Hood pieces of the lining in the same way.

With right sides together, align the long straight edge of the hood and pin both layers.


Stitch the long straight edge using a 1cm seam allowance. Press and topstitch on the lining to secure the hood layers in place.

Stitch the bottom edge of the hood with a long stitch to secure layers in place.

Stage 3: Finishing the cape
Let’s make the button loops. Cut one rectangle roughly 15cm long x 4cm wide.
Fold in half along the long edge and stitch using a 1cm seam allowance. Trim close to the edge and turn inside out. Here’s a good video tutorial that will change your life!

Cut the finished piece in half, then fold each piece to create loops.
Stitch the raw edges together.

Take the outer piece of the cape, and pin the button hoops to the top of the right side. Place the first one 1.5cm from the long edge and the second one at 5cm from the long edge. Stitch in place.

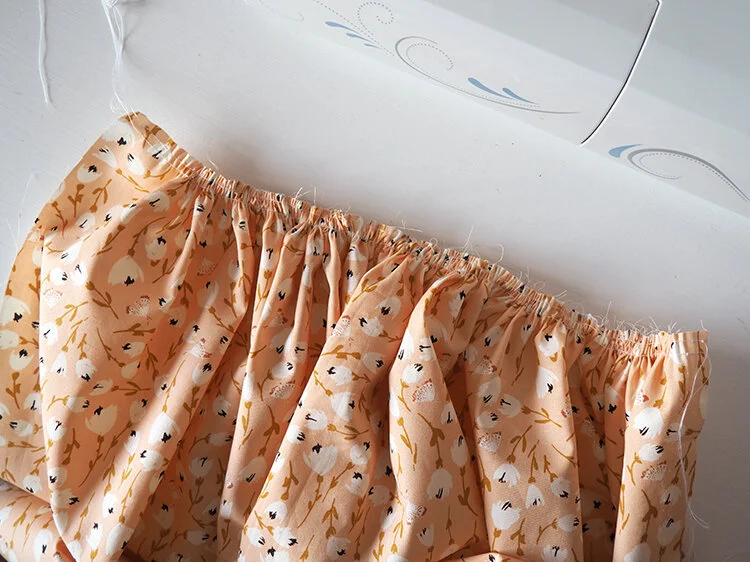
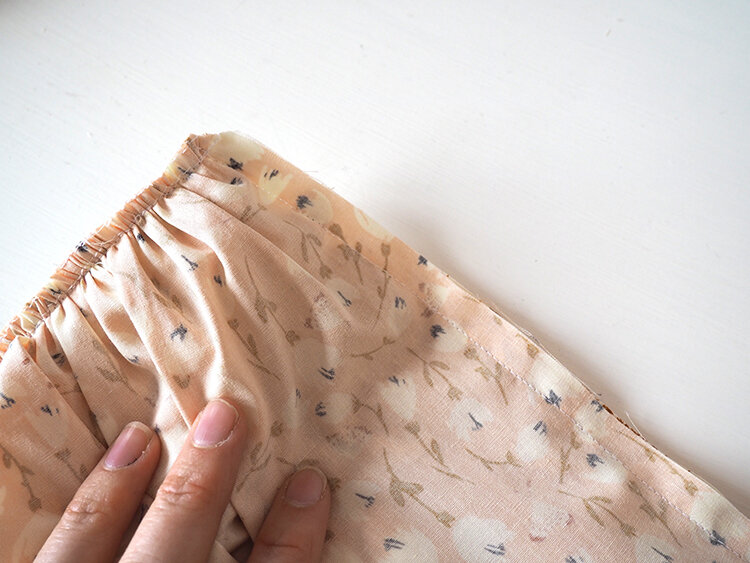
For each cape piece, run two lines of gathering stitches on the top long edge, within the seam allowances.
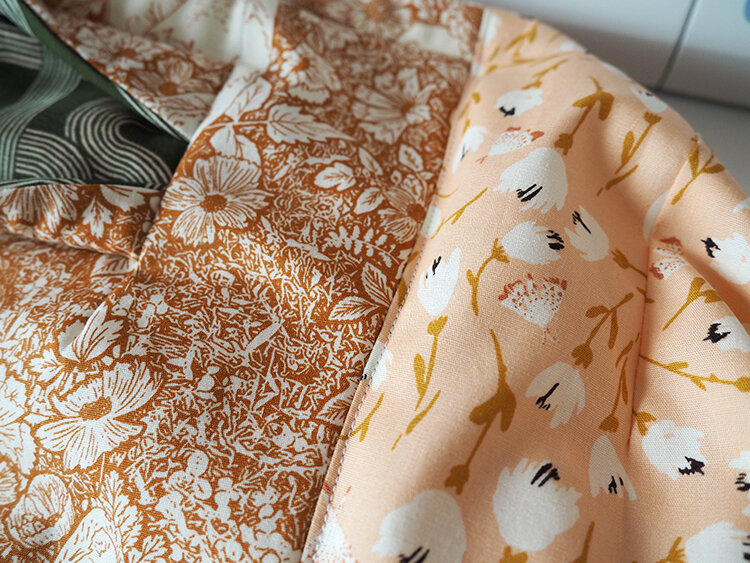
Pull the gathering stitches so that the top of the cape is the same length as the raw edge of the hood. Pin the outer layer in place with right sides together, leaving 1cm out on each side of the cape piece. Stitch using a 1cm seam allowance.


Repeat with the lining piece.

Lay the two cape pieces with right sides together — the hood will be sandwiched in-between — pin and stitch with a 1cm seam allowance. Leave a 5cm gap to turn the cape right side out.


Trim the curves, turn right sides out and press.
Close the opening and you’re done!

Have you made your own little bear cape?
Then share with everyone by tagging me @pompomdumonde on Instagram or Facebook! I love to share what other crafters are making!